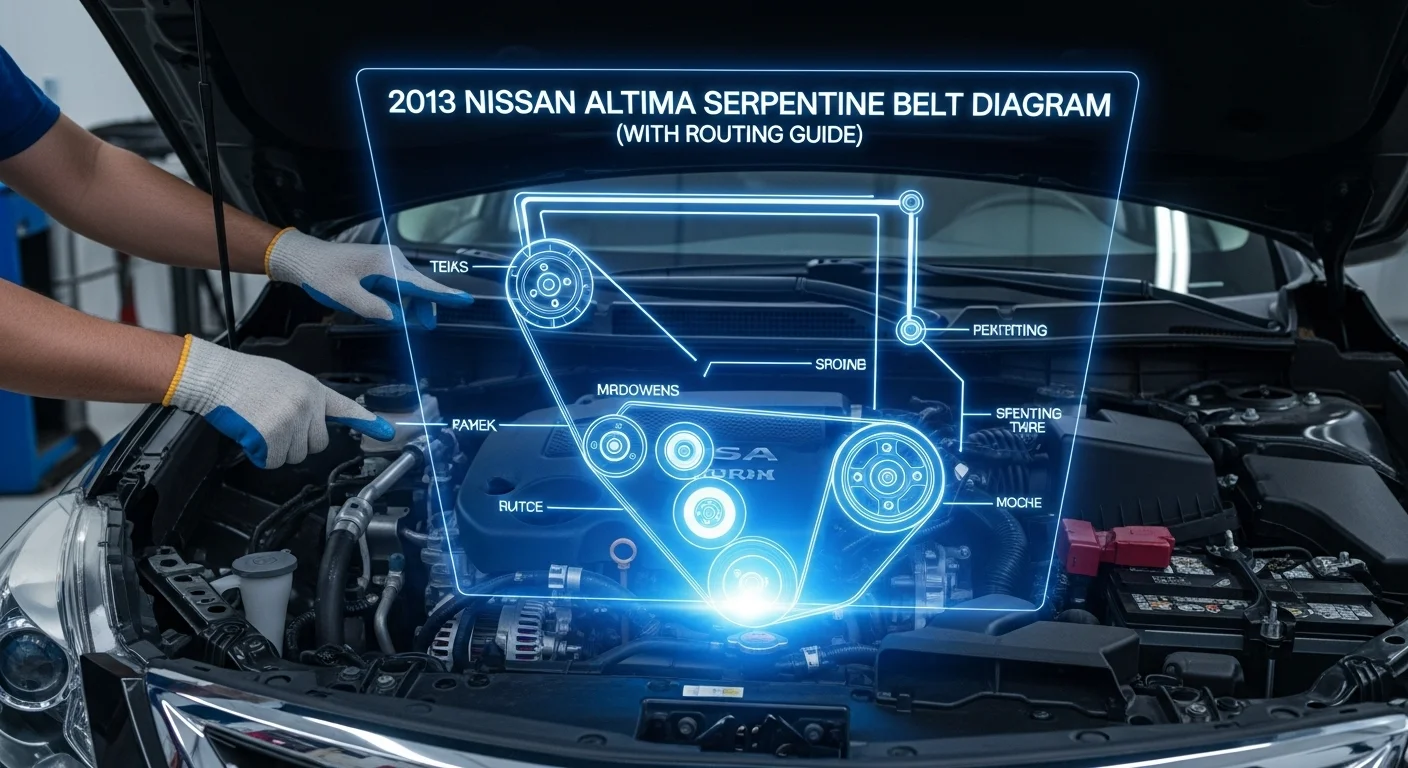
2013 Nissan Altima Serpentine Belt Diagram (with Routing Guide)

- Ford Expedition Years to Avoid A Mechanic’s Complete Guide (2026) - January 28, 2026
- 5 Signs You Need to Change Your Transmission Fluid Chevy Silverado - January 27, 2026
- Ford Maverick Years to Avoid: Worst & Best Models (2022-2026) - January 26, 2026
Okay so Ive been working on Nissan Altimas for about 12 years now in my shop and if theres one thing I see all the time its people coming in with that annoying squealing sound from under the hood. Just last week I had this lady drive in with a 2013 Altima and she said the noise was driving her absolutley crazy for like 3 weeks. I popped the hood and sure enough the serpentine belt was glazed over and had cracks running all through it.
Heres the thing most people dont realize – when that belt snaps your literaly stuck wherever you are. I remember this one time back in 2018 I got a call from a customer who was stranded on I-95 in the middle of summer with his kids in the car. His belt broke and the engine overheated in like 5 minuts. Cost him 400 bucks for the tow plus the repair. All because he ignored the squealing for months.
Ive probly replaced over 50 of these belts on Altimas at this point maybe more I stopped counting after awhile. Its honestly one of the easiest jobs you can do yourself but most people dont know that. This guide is everything Ive learned from doing this repair over and over again – the routing tricks the common mistakes people make and how to do it right the first time without wasting your saturday afternoon.
What Even Is a Serpentine Belt
So when I first started working on cars back in like 2010 or 2011 I didnt realy understand how important this one belt was. I mean its just a rubber belt right. But then I saw what happens when it breaks and I learned real quick.
The serpentine belt on your Altima is basicaly this one long continuous belt that wraps around like 5 or 6 different pulleys under the hood. Back when I was learning on older cars from the 80s they had multiple belts for different things but modern cars like your Altima just use this one belt to run everything which is actualy smarter when you think about it.

From my experience working on hundreds of Altimas this belt powers:
- The alternator – I cant tell you how many times Ive seen people think there batterys dead when its actualy just the belt not spinning the alternator
- Water pump – This is the scary one cause when the belt breaks the engine overheats so fast you barely have time to pull over
- Power steering pump – Ive had customers call me panicking saying there steering locked up when realy the belt just snapped
- AC compressor – In the summer this is what gets people to finaly come in cause they cant stand the heat anymore
- Tensioner pulley – This is what keeps everything tight and when it wears out even a new belt will squeal
I learned the hard way that ignoring a bad belt leads to way bigger problems. Had a customer once ignore the squealing for like 6 months and when the belt finaly broke it took out the water pump to cause it seized up. Turned a 60 dollar belt job into a 500 dollar repair.
Belt Routing
So heres something I figured out after messing up a few times when I first started – the belt routing is slightly different depending on which engine you got. I remember one time early in my career I routed a belt based on a 4-cylinder diagram but the car actualy had the V6. Belt fell off as soon as the customer started the car. Super embarasing.
2002-2006 Altima (2.5L 4-Cylinder): Ive worked on probly 20 of these models. The routing goes crankshaft at the bottom then alternator then tensioner then AC compressor and finaly water pump. Pretty strait forward once you do it a few times.
2007-2012 Altima (3.5L V6): These ones are trickier cause the V6 adds the power steering pump into the mix. I remember struggling with my first V6 Altima cause the space is so tight. The routing goes crankshaft to alternator to power steering to AC then tensioner. You gotta have smaller hands for this one honestly.
2013 Altima (Both Engines): Thank god Nissan redesigned the tensioner on these. Makes my job so much easier. I can usualy knock out a 2013 belt replacement in like 30 minuts now whereas the older models took me 45 minuts cause the tensioner was in such a bad spot.
Heres a trick I learned after forgeting the routing one too many times – I always take a picture with my phone before I remove the old belt. Saved me so many times. I even keep a folder on my phone with routing photos for different models cause sometimes that sticker under the hood is completly faded and you cant read it.
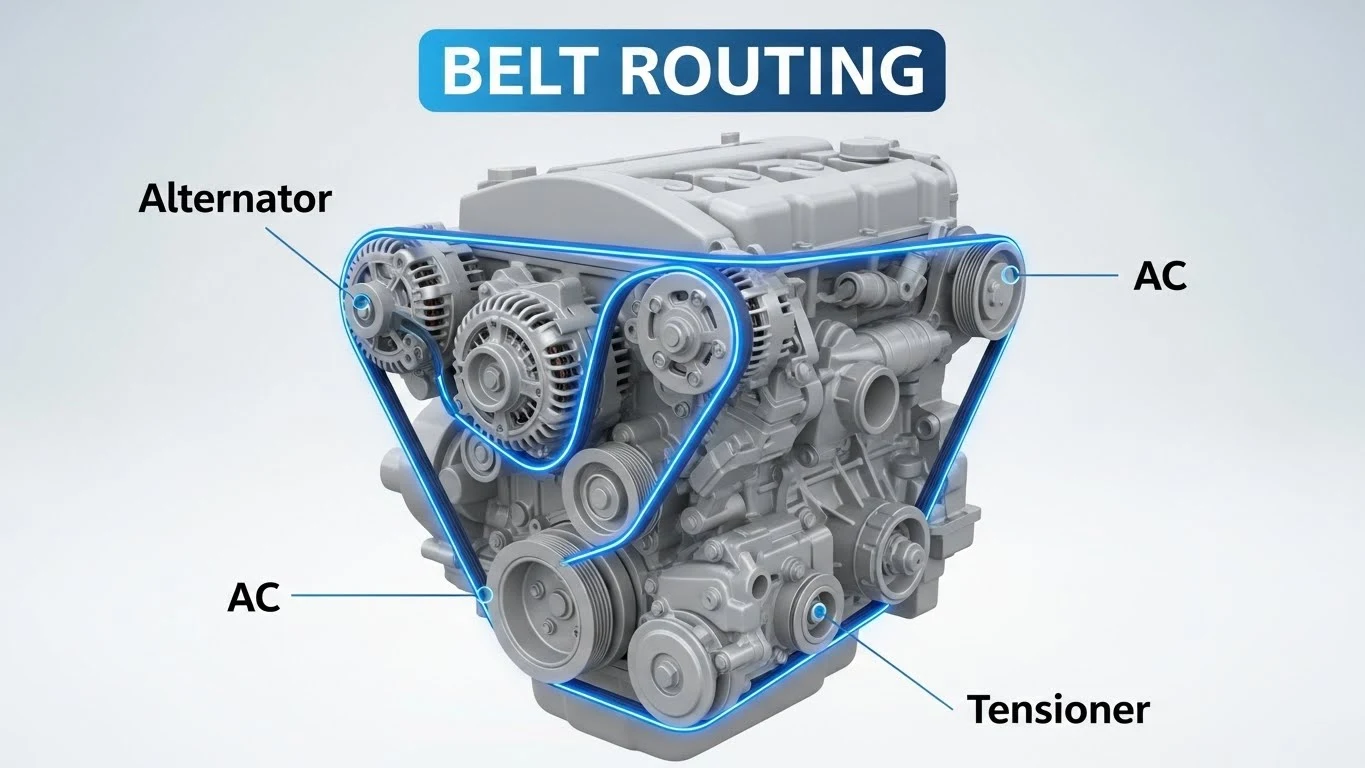
For the 2013 with the 2.5L based on what Ive done probly 15 times now the belt goes:
- Water pump at the top
- Around the tensioner
- Down to the crankshaft
- Back up to the AC compressor
- Finishes at the alternator
I made the mistake once of routing it backwards and the belt lasted like 2 days before it shredded. Customer was not happy with me.
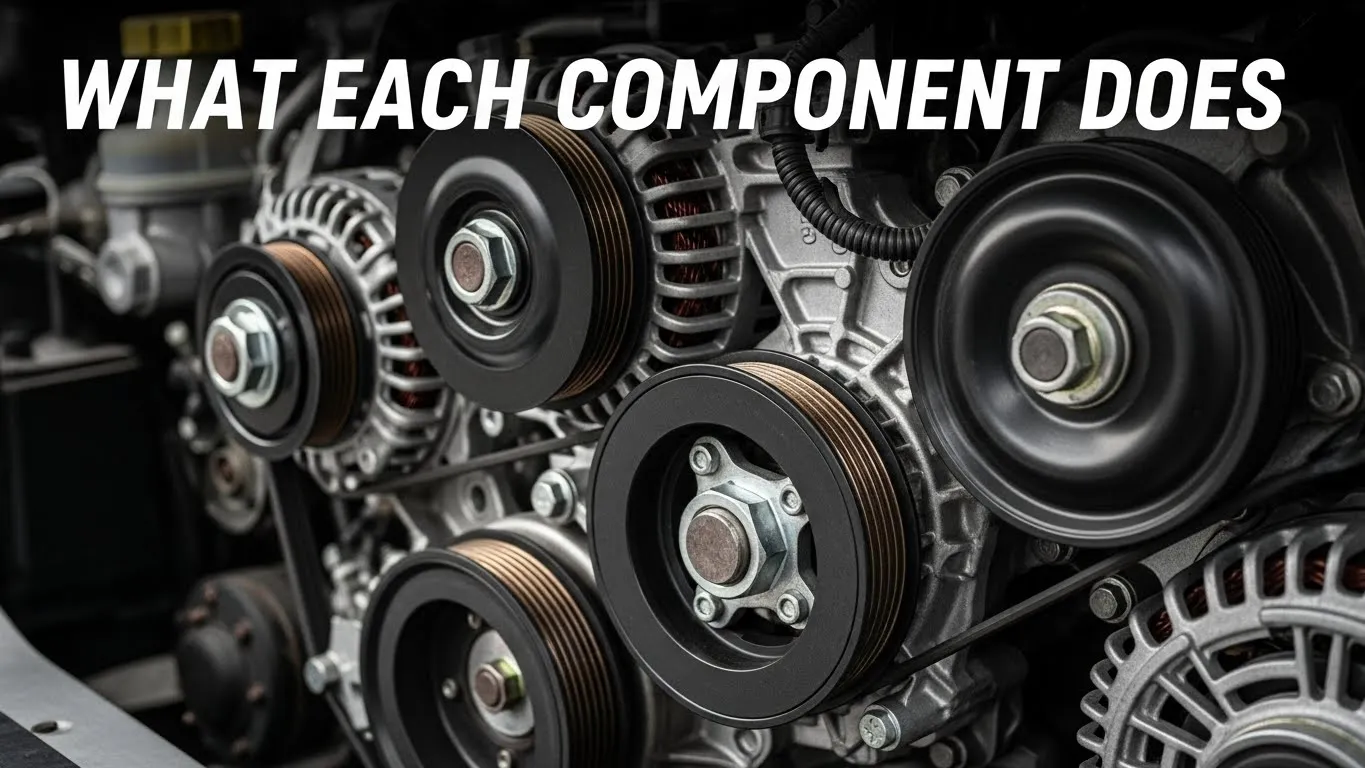
What Each Component Does
Let me tell you what Ive seen happen when each of these components fails cause Ive seen it all working in this shop.
Alternator: Just last month I had a customer come in saying his car died on him. Battery was fine we tested it. Turned out the belt was so worn it was slipping on the alternator pulley and not charging the battery. Once the battery drained the car just shut off on him while he was driving. Scary stuff.
Water Pump: This is the one that keeps me up at night honestly. I had a customer a few years back ignore a squealing belt and it finaly snapped on the highway. By the time he pulled over the engine had overheated so bad it warped the head. 2500 dollar repair. All because of a 40 dollar belt he didnt replace.
Power Steering Pump: Ive had so many customers call me thinking there power steering pump died when realy its just the belt. One lady told me she thought her car was broken cause she couldnt turn the wheel in a parking lot. I came out and saw the belt hanging off to the side. 5 minut fix.
AC Compressor: In the summer this is what finaly gets people to come in. They can deal with the squealing but once the AC stops working in July they show up real quick. Ive probly done 10 belt replacements in the summer just cause peoples AC quit.
Tensioner: I learned to always check the tensioner when Im replacing a belt. Had a customer come back 3 times with a squealing belt before I finaly realized the tensioner spring was shot. New tensioner fixed it right away.
Warning Signs Ive Seen Over the Years
After working on cars for over a decade I can usualy tell when a belts about to fail just by listening to it. Heres what Ive learned to watch for:

Squealing Noise: This is the number one thing people complain about when they come in. I had one customer tell me the squealing was so bad his wife refused to ride in the car anymore. When I looked at the belt it was so glazed over it was shiny like glass. Replaced it and the noise went away imediately.
Cracks: I always do a visual inspection during oil changes. If I see cracks in the belt I tell the customer to replace it soon. I remember one time I told a customer his belt had cracks and he said hed do it later. Two weeks later he called me from the side of the road cause it snapped. I told you so.
Glazing: This is something I learned to spot early on. A healthy belt looks matte black and rough. When it starts getting shiny and smooth thats glazing and it means the belts slipping. Once its glazed you cant fix it you just gotta replace it Ive tried.
Heavy Steering: Ive had customers come in saying there steering feels weird. First thing I check is the belt. If its slipping on the power steering pump the steering gets heavy especialy at low speeds. Easy diagnosis.
Weak AC: In the summer I get alot of people saying there AC isnt cold anymore. Sometimes its the belt slipping on the AC compressor pulley. I check the belt first before I start diagnosing the AC system cause its usualy the cheaper fix.
Battery Light: This ones tricky cause people always think its the battery. I test the battery first and if its fine I check if the alternators spinning. If the belts slipping the alternator doesnt charge and the battery light comes on. Seen it probly 30 times.
Overheating: This is the emergency situation. When someone calls me saying there engines overheating I tell them to pull over imediately and shut it off. Usualy its cause the belt broke and the water pump stopped. Ive seen engines get ruined from people who kept driving.
I always tell my customers to check there belt every time they get an oil change. Takes 30 seconds and Ive caught so many bad belts before they failed.
Tools I Use in My Shop
After doing this job so many times Ive figured out exactly what tools you need. Heres what I keep in my toolbox for belt replacements:
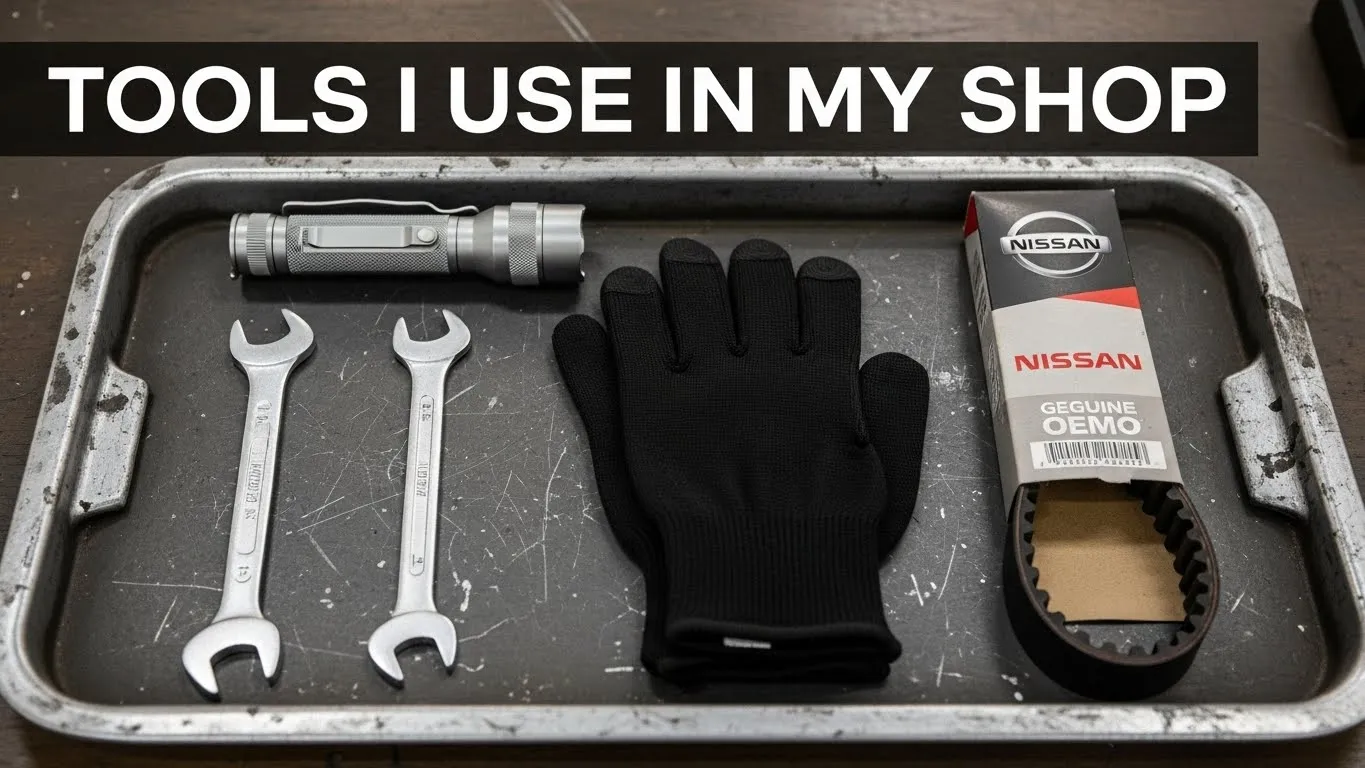
What You Absolutely Need:
- 17mm wrench for the 2013 models (14mm for older ones I learned that the hard way)
- Ratchet and socket set
- OEM Nissan serpentine belt – I only use OEM now after trying cheap belts and having customers come back in 6 months
- Good flashlight cause you cant see anything under there
- Gloves cause Ive scraped my knuckles too many times
What Makes the Job Easier:
- Car ramps – I use these every time makes it so much easier to see
- Phone for photos – I take a picture of every belt routing now
- Shop rags – your hands will get dirty trust me
About OEM vs aftermarket belts – I learned this lesson years ago. I used to buy the cheap belts from AutoZone to save money. They lasted maybe 6 months before customers came back with squealing. Now I only use OEM Nissan belts. They cost like 20 bucks more but they last 2 or 3 years easy. Ive stopped having comebacks since I switched to OEM only.
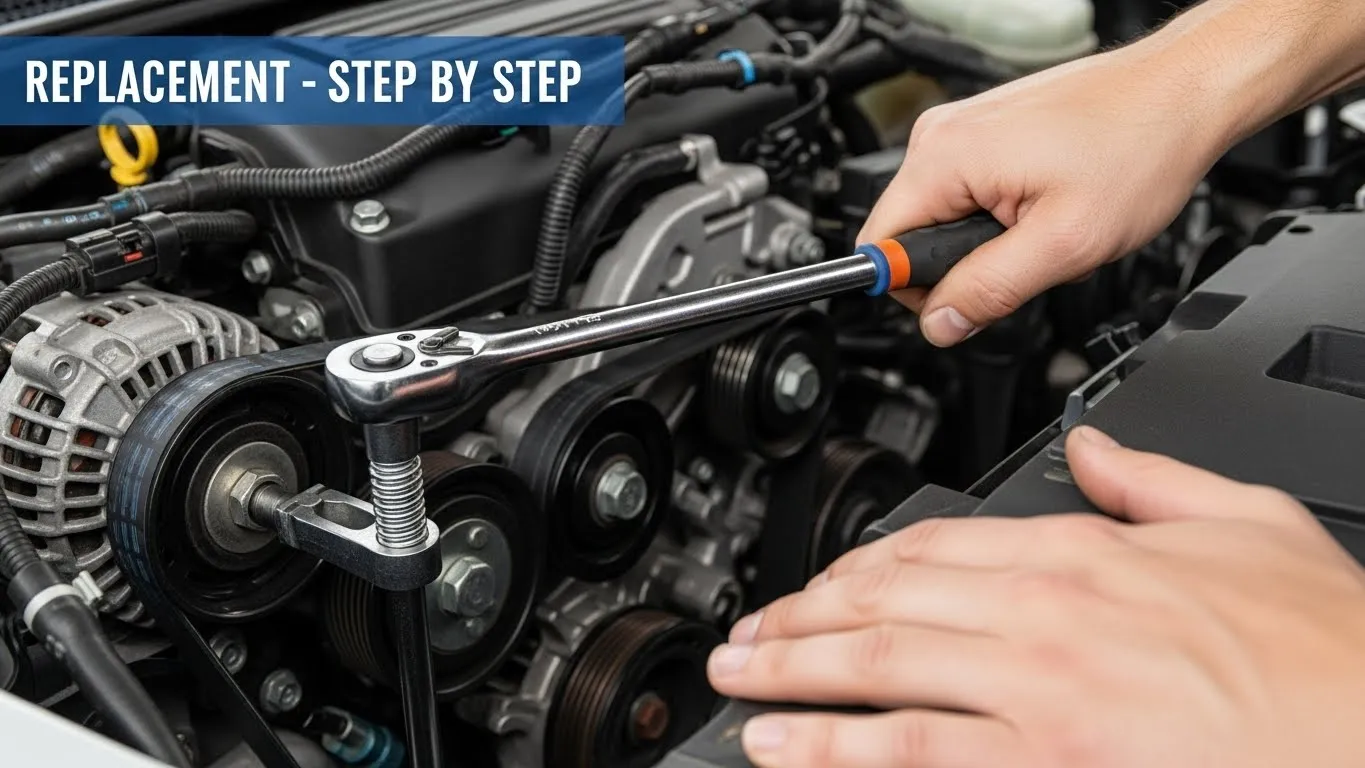
Replacement – Step by Step
Alright let me walk you through exactly how I do this job in my shop. Ive done it so many times I can do it with my eyes closed at this point.
Step 1: Disconnect the Battery: First thing I always do is disconnect the negative battery cable. Safety first. I saw a guy short out his alternator once cause he didnt disconnect the battery. Not making that mistake.
Step 2: Locate the Tensioner: On the 2013 the tensioners on the passenger side. Ive memorized where it is on every Altima model at this point. You need a 17mm wrench for the 2013.
Step 3: Photo Time: I take a picture every single time even though I know the routing by heart. Better safe than sorry. Ive seen too many DIYers mess this up.
Step 4: Release Tension: I put my 17mm wrench on the tensioner bolt and turn it clockwise. You gotta push pretty hard cause theres spring resistance. I keep turning till the belt goes completly slack.
Step 5: Remove Old Belt: I slide the belt off starting with the easiest pulley to reach usualy the alternator. Sometimes the belt is so worn it just falls off in my hands.
Step 6: Inspect Pulleys: This is something I learned to do after having a customer come back with a squealing belt. I spin every pulley by hand to make sure theyre not seized or wobbling. If a pulleys bad I replace it before putting the new belt on. Saved me alot of comebacks.
Step 7: Install New Belt: I loop the belt around all the pulleys except the tensioner following my photo. I always save the tensioner for last cause its the easiest one to slip the belt onto when everythings tight.
Step 8: Apply Tension: I use my wrench to rotate the tensioner again slip the belt over the tensioner pulley then slowly release. The spring pulls it tight automaticaly.
Step 9: Check Alignment: I make sure the belts sitting perfectly in the grooves on every pulley. If its even slightly off it will squeal. Learned that one the hard way.
Step 10: Test: I reconnect the battery and start the engine. I listen carefuly for any squealing. If it sounds good Im done. Usually takes me about 30 to 45 minuts total.
Mistakes People Make
Working in a shop you see the same mistakes over and over. Heres what I see all the time:

Wrong Routing: I cant tell you how many times Ive had DIYers come in after they tried to do it themselves and routed it wrong. Belt falls right off. Always follow the diagram people.
Not Releasing Tensioner Enough: Some people dont turn the tensioner far enough and then they cant get the belt on. You gotta turn it all the way till its realy loose.
Wrong Belt Size: I had a customer buy an aftermarket belt that was 2 inches too short. Didnt even come close to fitting. Always match the part number.
Ignoring Bad Pulleys: Ive had people replace the belt 3 times before finaly bringing it to me. Turned out the AC compressor pulley was seized. New belt wont fix a bad pulley.
Bad Alignment: If the belts not centered on the pulleys it will squeal and wear out fast. I always double check alignment before I close the hood.
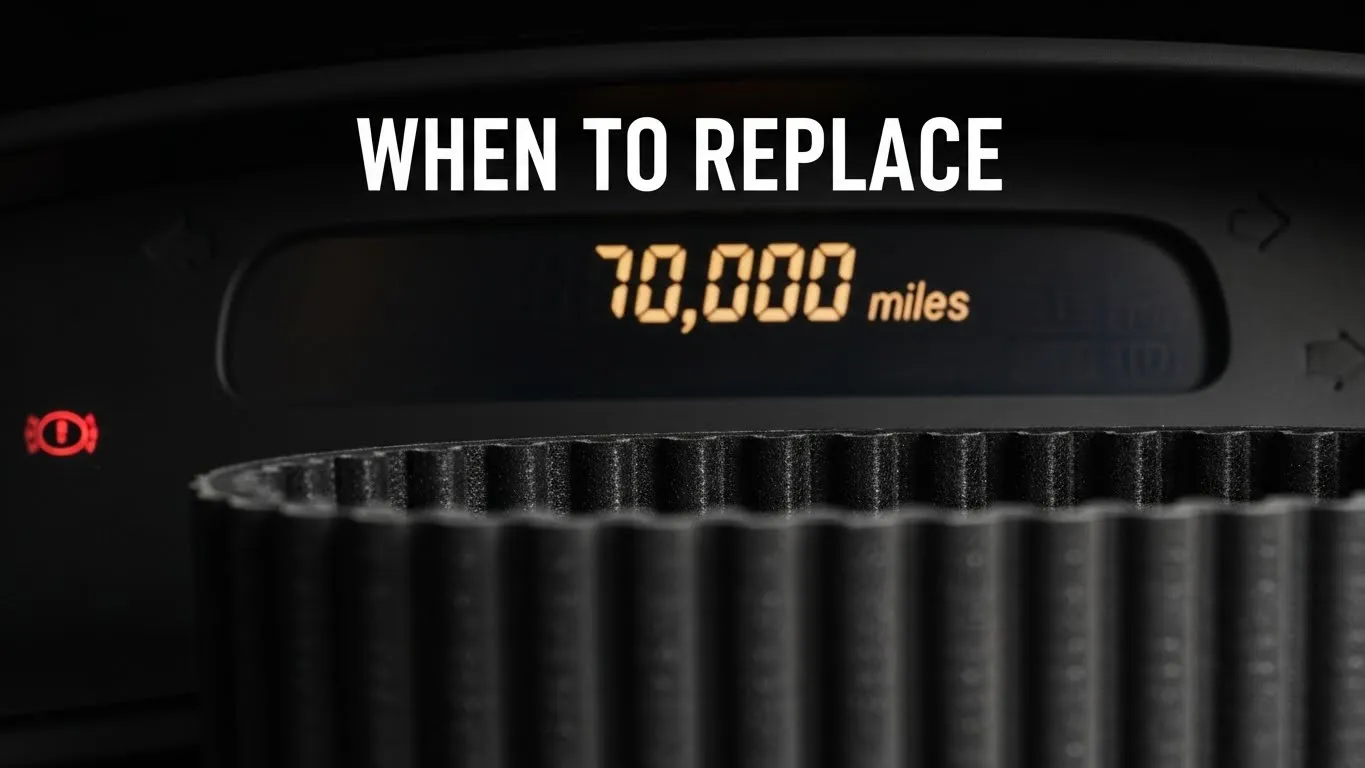
When to Replace
From my experience most belts last about 60000 to 80000 miles. But Ive seen belts fail at 40000 and Ive seen them last 120000. It depends on alot of factors.
I had a customer in Arizona and his belts would only last like 50000 miles cause of the heat. Another customer who did mostly highway driving got 100000 out of his belt.
I tell all my customers to let me check the belt at every oil change. Ive caught probly 50 bad belts before they failed just by doing quick visual inspections.
Cost – What I Charge vs DIY
In my shop I charge about 150 to 180 bucks for a serpentine belt replacement including parts and labor. The Nissan dealership down the street charges like 250 to 300 which I think is too much honestly.
If you do it yourself the OEM belt costs about 40 to 60 bucks and it takes maybe an hour if you know what your doing. Ive had customers save over 100 bucks by doing it themselves.
But I also get people who tried to do it themselves messed it up and then brought it to me anyway. So if your not comfortable under the hood just bring it to a shop.
Questions My Customers Always Ask
Does it have a tensioner
Yeah every Altima has an automatic tensioner. When the tensioner goes bad Ive seen belts squeal even when theyre brand new. I always check the tensioner when I replace a belt now.
Can I drive with a bad belt
I always tell people no dont risk it. Ive seen too many people get stranded. One customer ignored my advice and the belt snapped 2 days later on the highway. He learned his lesson.
What if it breaks while driving
Ive gotten calls from customers stranded on the side of the road. No power steering no battery charging engine overheating. Its not fun. Always replace it before it breaks.
OEM or aftermarket
I only use OEM in my shop now. Tried aftermarket for awhile and had too many comebacks. OEM lasts way longer worth the extra 20 bucks.
How long does it last
From what Ive seen usualy 60000 to 100000 miles. Hot weather and city driving wear them out faster. I replace mine every 70000 miles just to be safe.
My Final Advice After 12 Years
Look Ive been doing this job for over a decade now and if theres one thing Ive learned its that preventive maintenance saves you so much money and headaches. That squealing belt your ignoring right now could leave you stranded next week. Ive seen it happen too many times.
Replace the belt proactivly around 70000 miles use OEM parts and check it at every oil change. Thats what I do on my own car and Ive never been stranded.
If your not comfortable doing it yourself bring it to a good independent shop. Should cost you around 150 bucks and take 30 minuts. Way cheaper than a tow truck and a ruined engine.
Keep your Altima maintained and itll run forever. Ive seen these cars go 200000 miles easy when people take care of them.